
DECK INSTALLATION WITH BOLTS
If your deck is not solid wood please contact the decking manufacturer before installing IYN pole stands to insure proper installation.
Hardware & Tools Needed:
• 3/8”-16 x 2 ½” hex bolts (4) + 3/8”-16 hex nuts (4) + 3/8” flat washers (4)
• Drill with 3/8” Wood drill bit
• Pen to mark holes
• Socket set, wrench, or nut driver
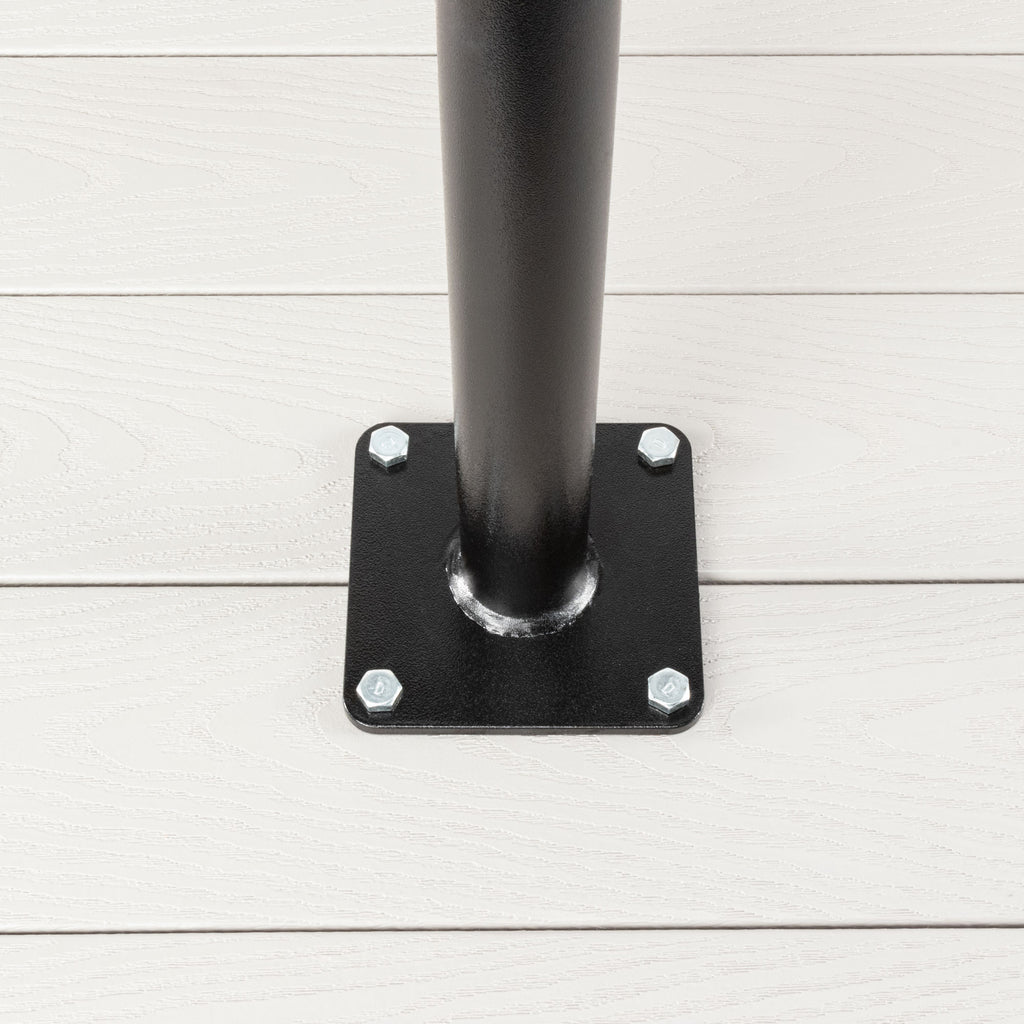
1. Use the round base of pole as a template to mark hole locations.
2. Drill 3/8” diameter through decking.
3. Use the (4) 3/8”-16 x 2 ½” bolts to mount the pole.
4. Secure using the (4) 3/8” nuts and washers.
5. Tighten bolts with a socket set and wrench.
One person holds the top of the bolt in place while another person goes below the deck to tighten with the socket set.
DECK INSTALLATION WITH LAG SCREWS
If your deck is not solid wood please contact the decking manufacturer before installing IYN pole stands to insure proper installation.
Hardware & Tools Needed:
• 3/8”- 2” hex lag screws (4)
• Drill with 15/64” wood drill bit
• Pen to mark holes
• Socket set, wrench, or nut driver
1. Use the round base of pole as a template to mark the locations of holes.
2. Using the 15/64” bit, drill a pilot hole
3. Use the (4) 3/8”- 2” screws to mount the pole.
4. Secure using the socket set or nut driver.
CONCRETE INSTALLATION WITH WEDGE ANCHORS
Hardware & Tools Needed:
• 3/8 x 3” wedge anchors (4)
• Drill with 3/8” concrete drill bit
• Pen to mark holes
• Method to clean out the holes (vacuum, blow out bulb, air compressor)
• Socket set, wrench, or nut driver
1. Use the base as a template to mark the locations of holes. Drill holes into the concrete using a concrete bit. Bit size needs to equal the wedge anchor diameter when working with wedge anchors. Drill the holes 1/2" deeper than the anchor will penetrate into the concrete making sure that the minimum embedment requirements are met. The holes can be drilled while the fixture is in place. It is important to make sure that the bit diameter being used will fit through the holes in the fixture.
2. Clean out the holes using a vacuum, blow out bulb, or air compressor.
3. Put the nut and washer onto the wedge anchor and make sure that the nut is on the last threads (this will protect the threads from damage when the wedge anchor is hammered into the hole in the concrete).
4. Insert the wedge anchor through the fixture's hole and into the hole in the base material. This should be a very tight fit- use a hammer to complete the installation until the nut and washer are tight against the fixture. It is important that the threads go below the surface of either the base material or the fixture.
5. Turn the nut clockwise, until finger tight. Use wrench to tighten until snug.